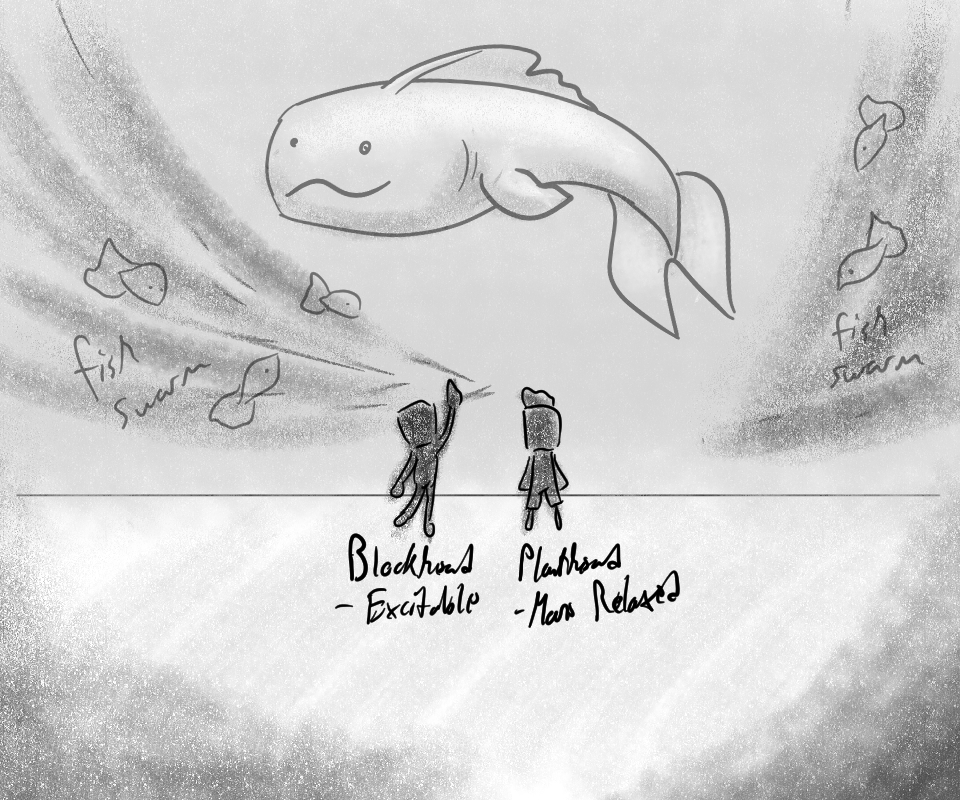
After so long this project is finally done! This was a project I started back in March with the creation of the concept art pictured below. I never expected it to take this long to complete, but the amount of detail mixed with my day job definitely made it so. Good things take time after all!
Notes on the Animation
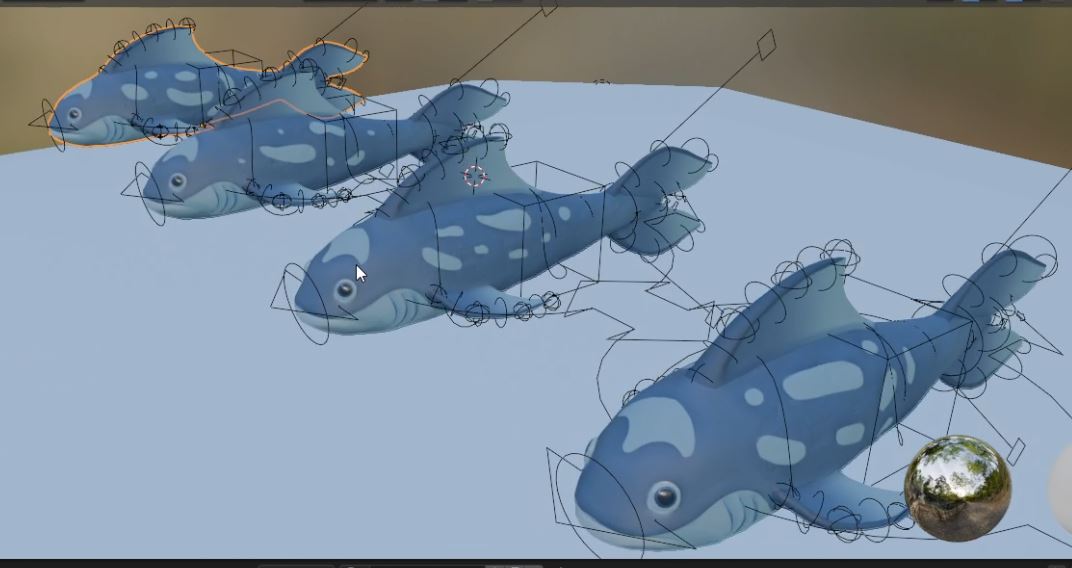
The Big Fish
My real stars of the show here were the big fish. While a lot different from my initial design, I really liked how they turned out. In the concept art, the big fish are definitely more whale-like in concept. The finished result looked more like a mix between a shark and almost a cat-fish like creature, minus the whiskers. There was originally supposed to be only one extremely large fish, but later I decided to make four slightly smaller ones instead. Fun fact, they all have different spot designs on their back, all hand painted by me. It helps them look more unique!
And while they weren’t the main focus, the smaller fish also had an important role in making the aquarium look alive. Their dark color made them stand out a little, but at the same time not look too distracting. And the particle effects I used to make them come to life worked really well. For the small fish, I used three different particle systems controlled by different force fields, which are a part of Blender’s physics engine.
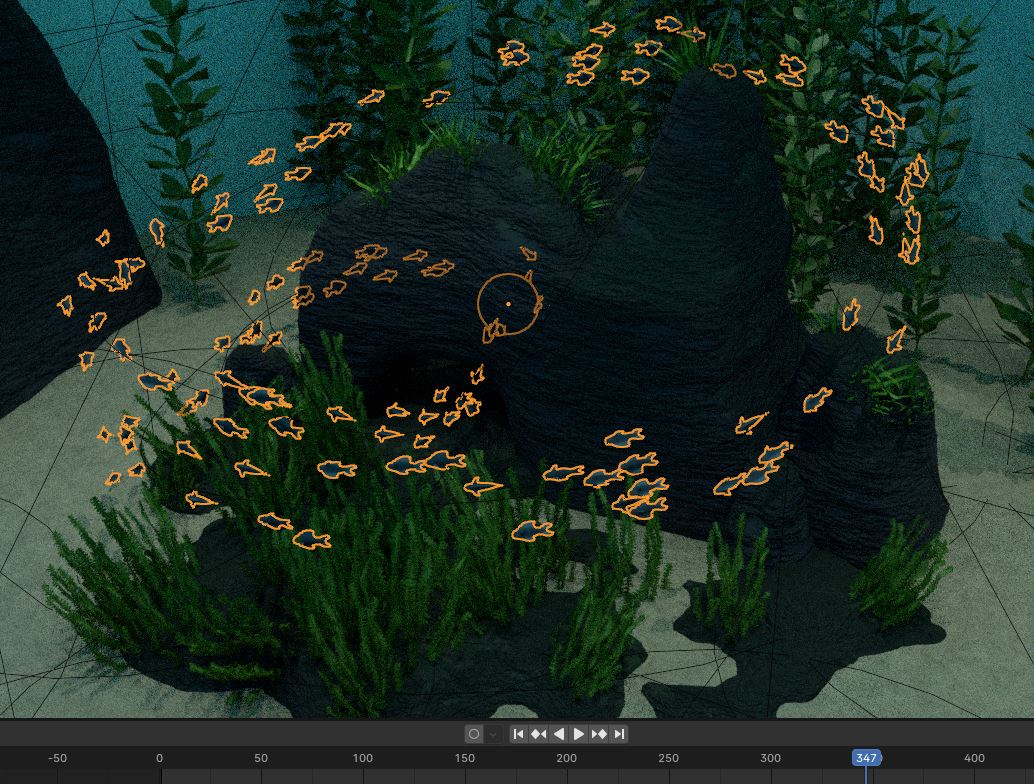
The first was a school of fish following a force field called a curve guide. This force field would have the fish follow a certain curve/path for the entirety of their lives. They start their lives at the beginning of the curve, and they die after reaching the end. You can change the speed that they go follow the curve by lengthening or shortening the life of the particle.
While I did make sure the fish were facing in the direction they were swimming, its not a perfect thing. The fish are upside down at some points and barrel roll awkwardly on others. I couldn’t find a way to fix it, but they’re far enough away that I don’t think anyone will notice.
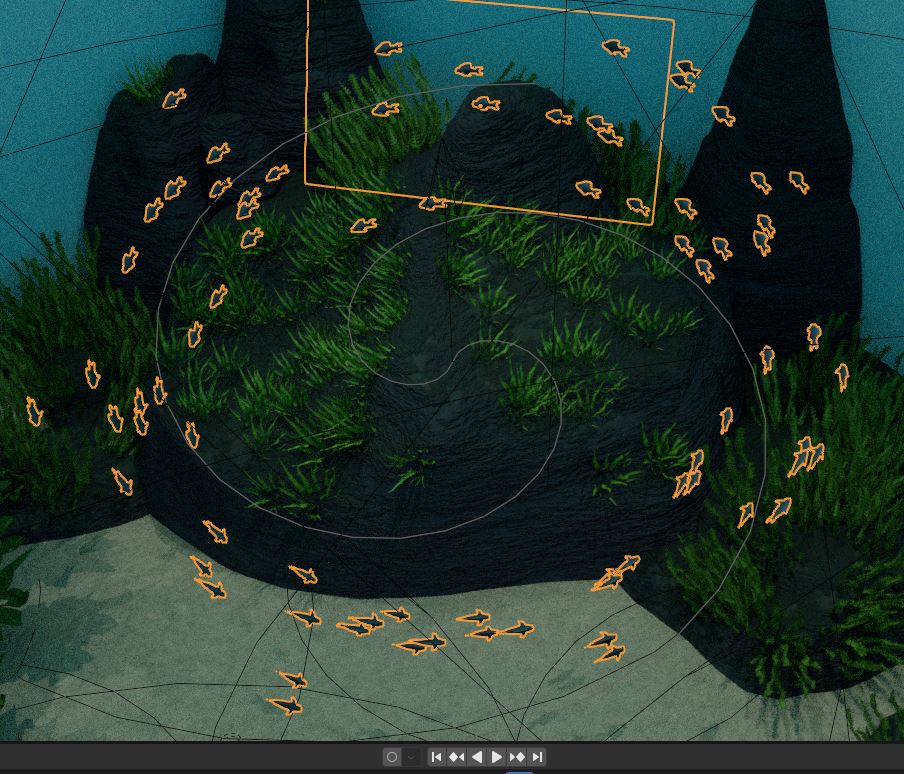
The second force field I used was the vortex. This one was straight forward, my biggest hurdle was making sure the fish were all generated and circling the vortex when the animation starts. Basically in a vortex, the fish are traveling in an infinite circle around the center. You can change how tightly the fish circle the vortex by adjusting the strength modifier in the force field options. I had it at a relatively low strength so that the fish would look more relaxed.
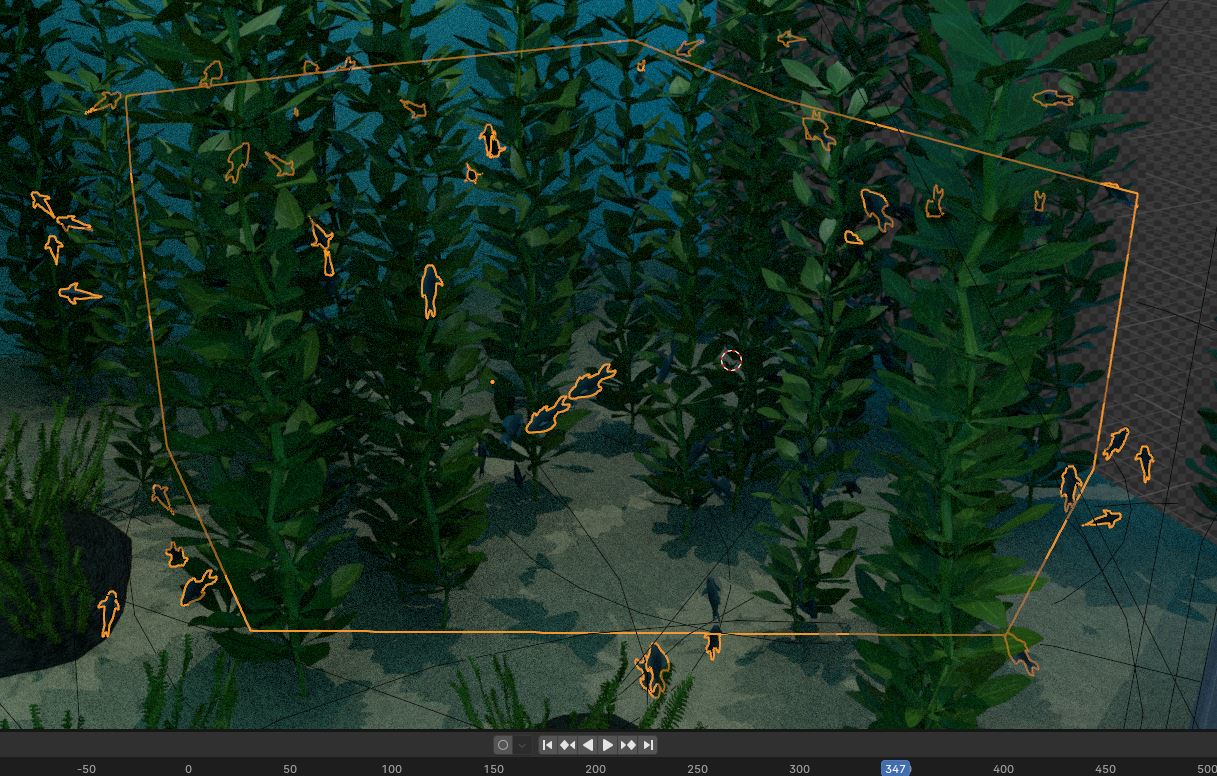
The final one was a magnetic force field. I’m not sure how I implemented this one exactly. The shape outlined is not the actual force field, but rather where the fish would spawn from. The actual force field is a single point in the center. The fish spawned from the volume of the shape rather than the faces to look like they were inside of the kelp forest rather than awkwardly on the outskirts. They moved toward and away from the magnetic force field in lazy circles. For the second or two it was on screen, it made it look like they were traversing the kelp forest.
The Plants
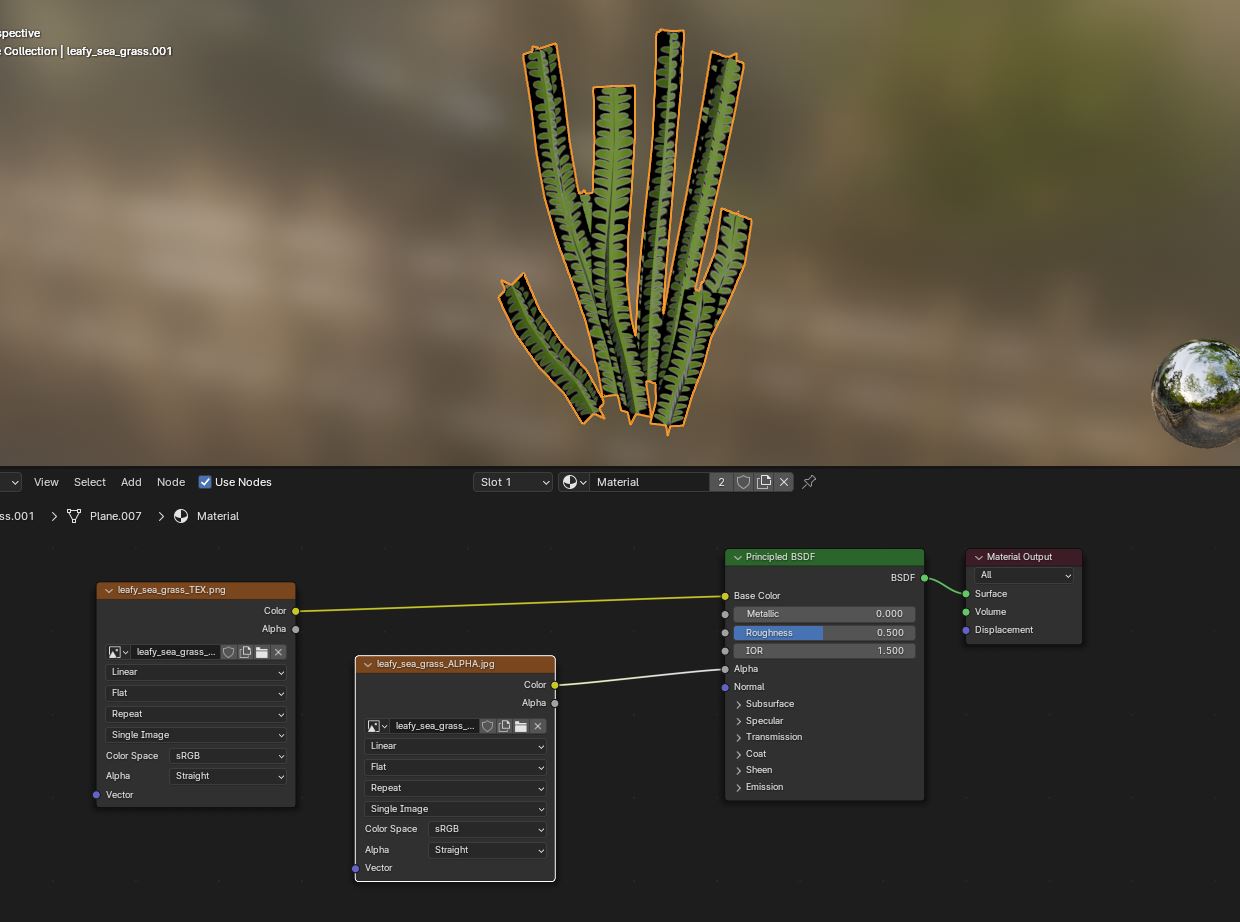
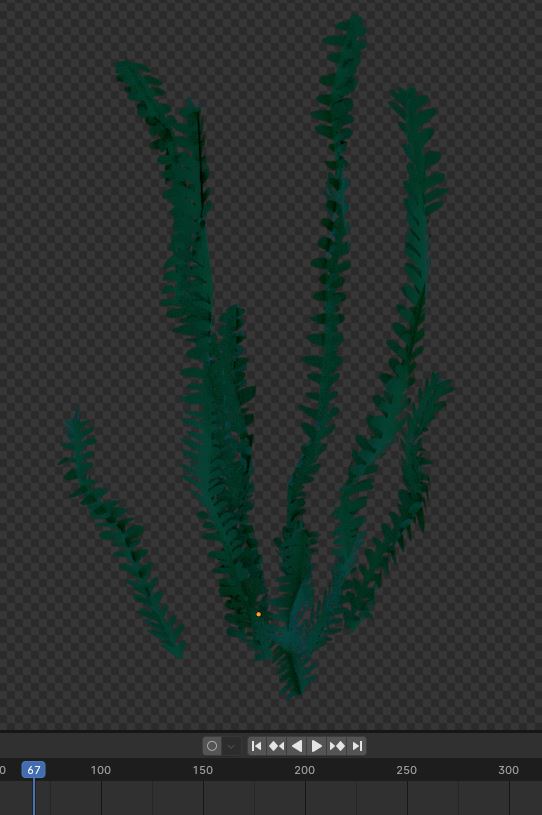
I was super happy with how the plants turned out. I went into a lot more detail in my previous post about this project. To summarize, since I knew there were going to be a lot of plants moving in the scene, I wanted to keep them as simple as possible. To achieve that, I made the plants first out of simple planes. I then used a special texture with the alpha channel in the Principled BSDF shader to give the plants more complex shapes. The results worked far better than I anticipated and I’m excited to employ this method again in the future. Hopefully this means that one day, I will finally become good at making plants.
To make them sway and flow like they do in the animation I implemented a soft body simulation and combined that with a Turbulence force field. I made the simulation already active at the beginning of the animation by starting it at frame -10 rather than frame 0.
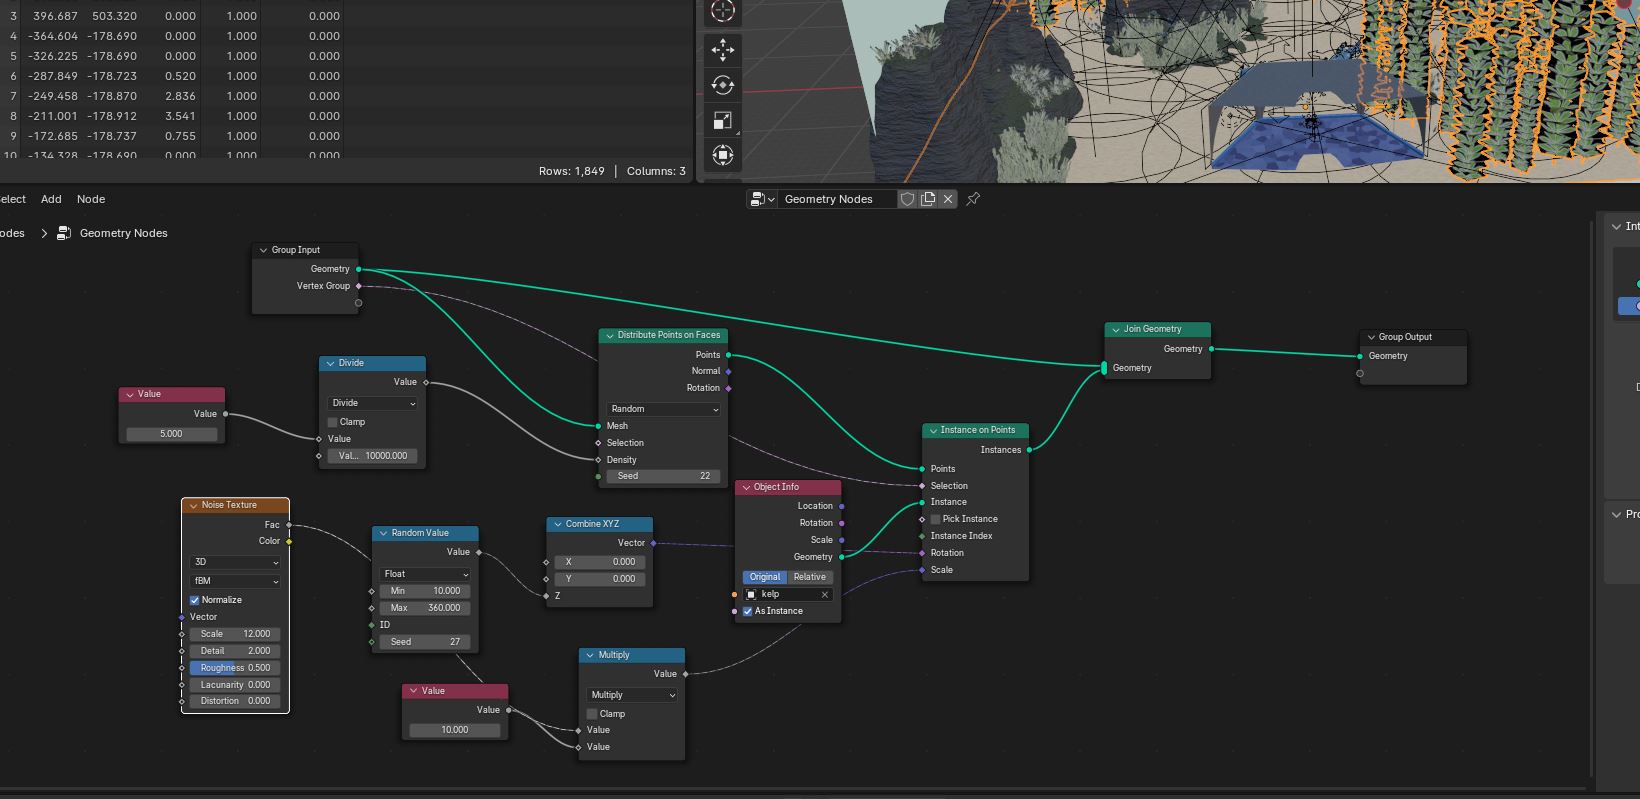
Finally, I used geometry nodes to attach the sea grasses to the rocks, and the kelp to the sand. Why do this instead of particle systems, even though I was happy enough to use that before? My previous post on the project explains that in great detail, so I recommend checking it out. To do this I used a Distribute Points on Faces node to scatter a few points around the faces of the rocks/sand. I quickly found out that the density option of this node must be an extremely small number. If not, Blender will try to generate thousands of my sea foliage and inevitably crash. In my example below the number was 5/10000.
I’ll use the kelp generation as an example. I used an Instance on Points node to generate the kelp instances. I randomized the rotation of the kelp using a random number assigned to the z axis of the rotation vector. To randomize the scale I used a noise texture.
Finally, to make sure the kelp was only generated in certain locations, I made a vertex group to determine where the kelp would be in the sand, then made that a factor in the Group Input Node. I then put that into the selection input of Instance on Points. This way, the kelp would only generate on points inside of that vertex group. I combined the sand and the kelp using a Join Geometry node and plugged that into the Group Output to get my final result!
And Finally, The Render!
For the post render compositing, my main goal was an underwater effect without all the computational data required for actual volumetrics. To achieve that, I had to render a depth pass, then factor that into several color ramps. These color ramps would be used to determine the cloudiness of the water and the location of the sun rays. For the cloudiness, I mixed the regular image with a nice blue color and used one of the color ramps as the factor.
I also decided to add a Kuwahara filter after everything else, just ever so slightly. The filter gives the image a painterly effect and softens the edges at the same time. At first I was torn on whether to include it or not, worried that it might be too much for the render. In the end, I felt it was perfect for an underwater feel.

I had to tweak this a lot to get it exactly how I wanted it too, and part of me still wonders if its truly perfect. But at some point, you just have to call it quits, you know? And that’s exactly what I did. Its blue, its bright, its colorful, and I feel like I finally broke my curse of making things too dark, so I’m happy here.

When rendering, I also had to render the aquarium and the exhibit space separately. I was rendering on my GPU, which made everything so much faster. The final render sits at at 1440p with 125 samples per frame. On my CPU I’m pretty sure that would take seven minutes for every single image based on tests with the aquarium render. With my GPU it took around 30 seconds for the interior, and 55 ish for the exterior. Of course this all depends on the GPU you have, but if you can splurge for a nice one, I would highly recommend doing so.
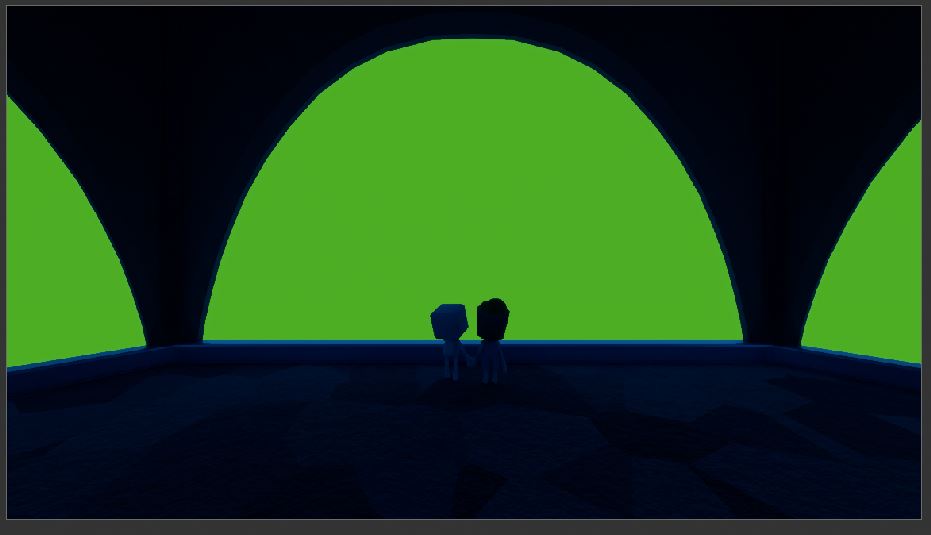
Even still it took around 9 hours for the aquarium to render, and 6 hours for the interior exhibit area. I made sure to render a “green screen” in the transparent areas of the interior animation. This was so that I didn’t have to change the compression options when going between the two clips. I wanted to keep the videos lat the same quality, with the slowest, best compression settings my poor computer could manage. I then took the two clips, combined them in After effects, took way too long picking the music, and exported it to my final video. Voila!
What Needs Improvement
Of course the project is not without its faults. I was told this later on when I shared the project with some friends on Discord, but the camera kind of slingshots the viewer around the screen with how fast it moves and rotates. This was actually my second iteration of the camera: the first had a simple rotation but I wanted it to be closer to the center window while the characters were stopped in front of it.
That also brings me to the fact that the walls were way to thick. I imaged a port-hole style exhibit window, but had I done this again I would have had more glass, like a typical exhibit. No one goes to an aquarium to see the concrete walls surrounding the glass.
Finally, with the characters themselves, I felt less like they moved like creatures that belonged in the space and more like video game characters running around the scene. This may not be that noticeable since they are cartoon characters that are also in the dark section not easily viewable. But nevertheless, actual methods for how to animate characters moving through a scene is something I’ll have to go over again in the future.
Final thoughts
I am super happy with the final result of my animation. Its filled with exquisite blues and the sun rays make the whole thing look just magical. It very nearly cures my own melancholy of not having visited an aquarium for the past couple of months.
If you liked it too let me know in the comments. If you would like to fund my future visits to the aquarium, I have a Ko-Fi, but no pressure. I would like to make more fish-related projects in the future, but that will have to come later.
Until next time!